Following advice from the SW Makers crew I gave up on the OEM software that came with my Felix and invested $150 in Simplify3d.
After working out the differences in the software. Simplify3d seems to be quite a good package and much more flexible that Repetier that is bundled with Felix 3.0
I had troubles after installing it on my Macbook Pro. It seems that the default baud rate for the USB on the Fellix three is too fast for the Macbook and Steve showed me how to adjust it at last weekends Nerd Herd at SW Makers.
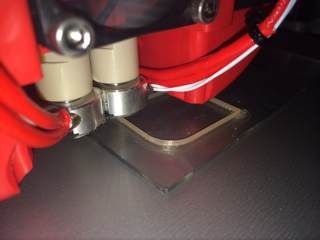
One useful important thing to remember is to removed the head away from the project after the print to ensure the model is not spooled by “oose” from the extruder after the print is finished. Thanks to Paul for digging up the information on the Gcode to move the head away after the print is finish. He has posted it here, I’ll quote it below for posterity.
The Starting Routine:
G90 ; Absolute positioning
G28 ; Move to origin – go home
G1 Z10.0 F3000 ; Controlled move – take bed down 10mm
G1 Y180.0 F3000 ; Controlled move – bring head to near front of bed
G92 E0 ; Set position
G1 E20 F200 ; Controlled move – extrude 20mm of filament
G92 E0 ; Set position
G1 Y0.0 F3000 ; Controlled move – move head home
G1 Z0.0 F3000 ; Controlled move – take Z home
The Ending Routine:
M113 S0.0 ; Set extruder PWM
G91 ; Relative positioning
G92 E0 ; Set position
G1 E-5 F2000 ; Controlled move – retract filament to stop the ooze
G1 Z10 F1200 ; take the bed down 10 mm, so as to clear the printed part
G90 ; Absolute positioning
G1 X5.0 Y5.0 F3000.0 ; Controlled move – move head to 5, 5
M84 ; Disable motors
M107 ; Fan off
M104 S0 ; Set extruder temperature to 0 deg C
M140 S0 ; Set heated bed temperature to 0 deg C
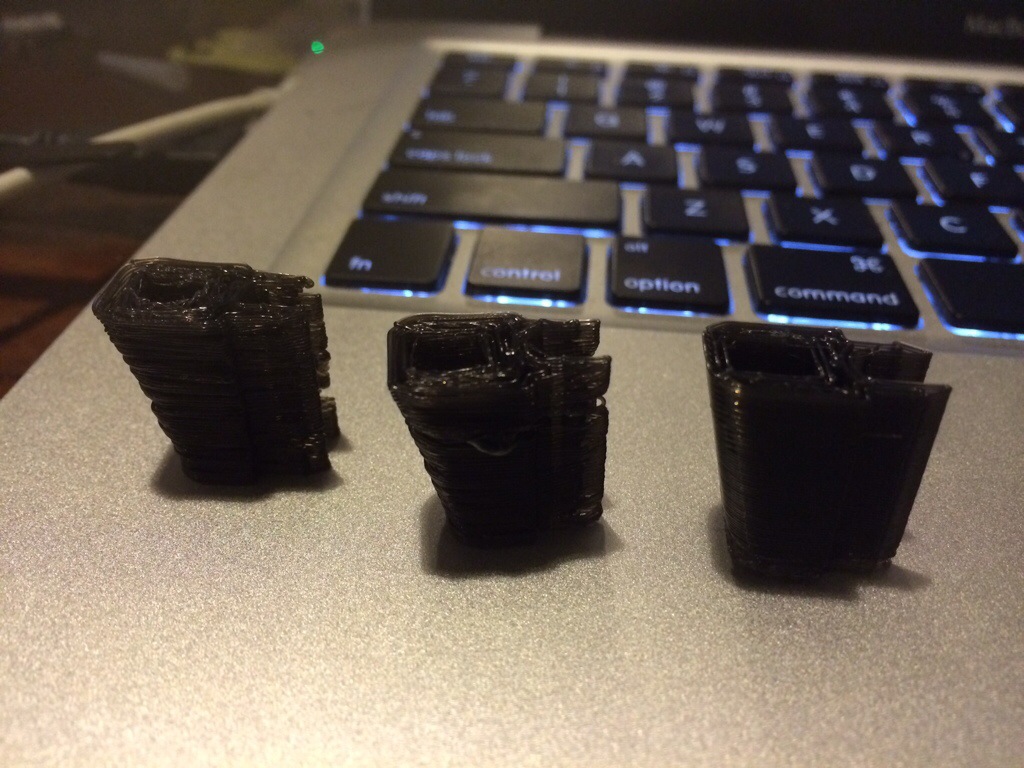
Once Steve showed me how to set the software up and we checked the printer using a “thin wall” calibration test, I was able to create models with much greater strength that looked much more like what I’ve seen online.
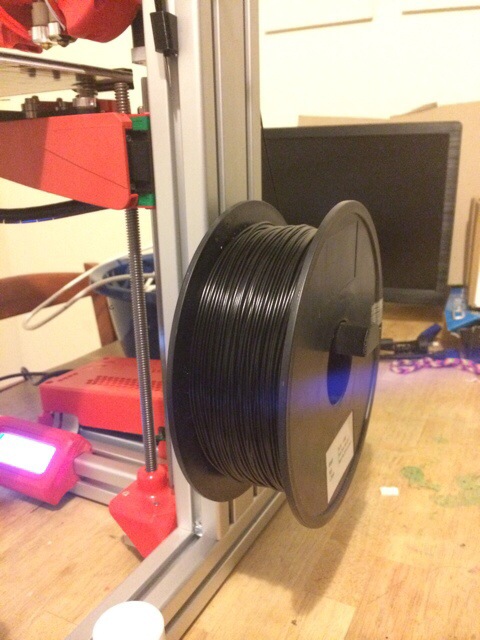
So much stronger that I was able to print a Spool Holder for the side of my Felix. This is not the most popular holder among the 3d printers but I kind of like the way the friction brakes the spool from allowing the filament to de-spool (is that the correct term?)

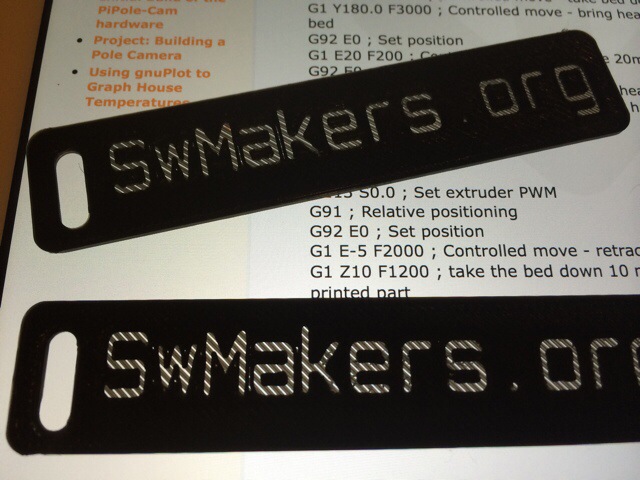
As part of our presence at the SW Science Spectacular in August, we had printing a bag of “swag” for the muggles to grab as they pass our booth. Steve made up an STL luggage rage with our website on it. We hope this and our increase printer family might generate some more interest in the club and maybe even a new member or two. (PS: if you haven’t been to it yet, head over to www.swmakers.org and check out the news)